How Brava Tiles Are Born: A Manufacture Timeline — From Clay to Brilliance
If you’ve ever stood in a showroom marveling at a tile wall or roof edge and wondered how such perfection comes to life, you’re not alone. I’ve spent years peering behind the curtain of tile manufacture, watching a raw idea become a durable, weather-worthy surface. Brava Tiles aren’t just about pretty surfaces; they’re the result of a meticulous timeline, hundreds of tiny decisions, and a dash of stubborn craftsmanship. In this guide, I’ll walk you through the manufacture timeline with the honesty you deserve, peppered with real-world anecdotes, client wins, and actionable advice you can use when planning a project. Yes, I’ll share the wins, the missteps, and the trade secrets that keep roofs safe, beautiful, and long-lasting.
First, a quick ethos note: you don’t hire a tile maker just for the glaze. You hire for reliability, for a system that respects your budget, your climate, and your timeline. That means understanding the journey from raw clay to a finished Brava tile is essential. Let’s start at the very foundation, where material choices shape everything that follows.
From Raw Clay to Ready-For-Building-Site: Sourcing and Preparation
In every project story I tell, the strongest chapters begin with material integrity. For Brava Tiles, the sourcing stage is not a perfunctory step; it’s the backbone of everything that comes after. The journey begins with carefully milled clays and mineral additives chosen for consistent texture, plasticity, and thermal response. The goal is to create a base that can withstand wind-driven rain, freeze-thaw cycles, and the daily mechanical stresses of a roof crest.
I’ve seen projects where a supplier change here altered the entire tone of the tile line. A good supplier doesn’t just hand off clay; they provide a traceable supply chain, test certificates, and a readiness to address deviations quickly. In practice, this means you’re looking at batch numbers, moisture content measurements, and particle sizing before any glaze or colour ever touches the mix. The team will homogenize and test the feedstock to ensure consistent firing response. If you don’t have consistency here, you’ll pay the price later in warping, cracking, or mismatched colour.
Real-world tip: demand documentation for the clay’s mineralogy and water absorption rates. It saves you from the heartache of a roof that looks perfect in the showroom but performs poorly under a monsoon. On a recent housing renovation, we renegotiated a supplier agreement after a small batch showed unexpectedly high porosity. The adjustment saved the client time and money by preventing a full rework down the line.
What to watch for as a homeowner or contractor:
- Consistent moisture content across batches Stable colour plan across multiple batches Clear documentation tying the clay source to the finished tile
How this stage links to the rest of the timeline? It sets the baseline for every test that follows. If your raw material doesn’t behave, the subsequent steps are fighting an uphill battle. A reliable material pipeline is the best investment you can make at the front end.
Forming and Body Creation: Shape, Size, and Structural Integrity
The next act in the play is forming the tile body. During this stage, the plastic clay becomes a durable biscuit that will survive the rigours of glazing, firing, and field installation. The shape, thickness, and uniformity of the tile matter far more than most people realize. A consistent body reduces warping risk, ensures uniform heat transfer, and simplifies the installation crew’s job when laying long runs.
In a Brava Tiles plant, extrusion or moulding determines the initial geometry. Controlling moisture during forming is critical—too dry and you get cracks; too wet and you invite distortion. The choice between pressed or extruded bodies depends on tile type, expected load, and the product’s performance criteria. The key is to measure and standardize: thickness tolerance plus density and porosity uniformity. The better you control these metrics, the more predictable the glaze behaviour and the installation outcome.
I’ve worked with small teams where the difference between a good tile and a great tile came down to a single calibration tweak in the forming stage. When a line runs with precise press pressures and cycle times, the walls of the kiln become predictable and friends with the glaze schedule rather than enemies. The client ends up with fewer callbacks, shorter installation windows, and a stronger warranty story to tell.
Pro tip for builders and designers: ask for your tile producer’s forming tolerances. If the tolerance stack is wide, you’ll see gaps, misaligned edges, and a non-uniform reveal in the finished surface. Narrow tolerances translate to easier installation and a more uniform finish.
Glazing and Color Science: Surface Drama, Durability, and Depth
Ah, the glaze—the coat of armour and the badge of style. This stage isn’t just about aesthetics; it’s a controlled chemistry exercise. The glaze must adhere to the tile body, resist UV degradation, and hold vibrant colours through decades of sun, wind, and rain. The process begins with a glaze slurry, recipe selection, and a careful application method. The glaze is then fused to the tile’s surface in the kiln, forming a glass-like skin that seals the body while delivering the look that clients expect.
Color science is where we see true artistry meet rigorous testing. A seemingly simple colour change can shift thermal expansion, create micro-cracks, or alter surface gloss under temperature swings. Brava Tiles uses a color library with defined firing curves, allowing designers to mix and match colours with predictable results across production lots. The lab works with accelerated aging tests, salt-spray tests for coastal environments, and weathering simulations to anticipate how the tile will hold up in your climate.
From a construction perspective, glazing determines installation notes. Some glazes require a slightly more forgiving substrate, others demand exacting moisture control, and still others demand precise bedding materials. Your contractor should be aware of any glaze-specific Business requirements such as minimum substrate flatness, acceptable chamfers, or edge finishing. The main idea is to prevent cracking, crazing, or delamination years after the tiles are laid.
A memorable client example: when a coastal villa project demanded a high-gloss, vibrant tile that could withstand salty air and hurricane-like winds, our glazing team adjusted a pigment set for UV stability and Business tested a sealed edge to reduce sea spray ingress. The result was a showroom-worthy finish that also performed reliably for the look at here now long haul. The lesson? Great tiles demand a glaze that knows its job in harsh environments.
Firing and Thermal Processing: The Kiln Curve You Can Trust
The kiln is the heart of any ceramic operation. The firing curve—ramp rates, peak temperature, soak times—dictates the tile’s final strength, glaze maturity, and dimensional stability. Getting this curve right means your tiles won’t warp, craze, or glaze peel. It also means the installation crew won’t face surprises like out-of-square panels or inconsistent edge widths.
In the Brava Tiles plant, a multi-zone kiln allows fine-tuning for different tile batches. The process includes pre-drying, bisque firing, glazing, and final glaze firing. The temperature ramp must be carefully calibrated to avoid thermal shock. A misstep here can produce micro-cracks that reveal themselves years into a roof’s life when the heat cycles intensify. The team uses real-time sensors and post-process inspections to catch any subtle deviations.
A practical takeaway for homeowners and project managers: understand the kiln’s control strategy. Ask about how many cooling stops exist between cycles, what the maximum soak time is for dense bodies, and how much variation is allowed between batches. Knowing the answer helps you schedule installations with confidence and reduces the risk of field surprises.
Case in point: during a mid-size commercial rebuild, a batch showed minor edge curl after the first firing due to a slightly altered ramp rate. The fix was a quick calibration, a temporary batch hold, and a measure to prevent recurrence. Transparent communication saved the client months of delay and protected the project budget.
Quality Assurance and Laboratory Testing: The Standards We Stand On
Quality assurance is not a flourish; it’s the backbone of reliability. Every tile goes through a battery of tests to verify mechanical strength, water absorption, scratch resistance, freeze-thaw durability, and glaze integrity. In my experience, the right QA plan pays for itself in avoided callbacks and better client confidence.
Key QA processes include:
- Dimensional tolerance checks: ensuring width, length, and thickness stay within tight bounds. Water absorption tests: predicting performance in wet climates. Flexural strength tests: confirming load-bearing capacity for roofs and walls. Glaze adherence tests: verifying that glaze remains bonded under stress. Weathering simulations: accelerated aging for UV, thermal cycling, and pollution exposure. Consistency audits: batch-to-batch colour and finish alignment.
When a client asks for a warranty that covers severe weather events, you must be able to point to QA data that demonstrates the tile’s resilience. I’ve seen projects succeed spectacularly because the manufacturer could present a robust QA narrative, including test certificates and traceability.

Transparency matters here. Share the QA summary with clients, show the test dates, and explain what the results mean in practical terms. A well-documented QA program builds trust and reduces the back-and-forth during installation and aftercare.
Packaging, Logistics, and On-Site Delivery: The Last Mile
The final mile is where intentions meet reality. Tiles are heavy, fragile, and sometimes awkward to handle in a congested job site. The manufacturing timeline continues after firing with careful packaging, crating, and logistical planning to minimize damage. The best product plans consider weather windows, staggered deliveries, and clear on-site unloading instructions.
From my projects, the best outcomes come from a well-coordinated delivery schedule that aligns with the installation crew’s rhythm. When deliveries arrive in the correct sequence with undamaged corners and flat pallets, the crew can maintain a steady pace and reduce waste. It’s a small detail, but it has a outsized impact on timelines and cost.
What clients should look for:
- Proper protective packaging and pallet labeling Clear lot tracking for batch-to-batch colour matching Contingency plans for weather or transport delays On-site handling guidelines to prevent edge chipping
One memorable lesson involved a long-run commercial roof where a late-stage, mislabelled batch threatened to disrupt the sequence. Our proactive site team swapped pallets, updated the delivery route, and kept the project on track with minimal downtime. The client saw the value of proactive communication and thorough logistics planning.
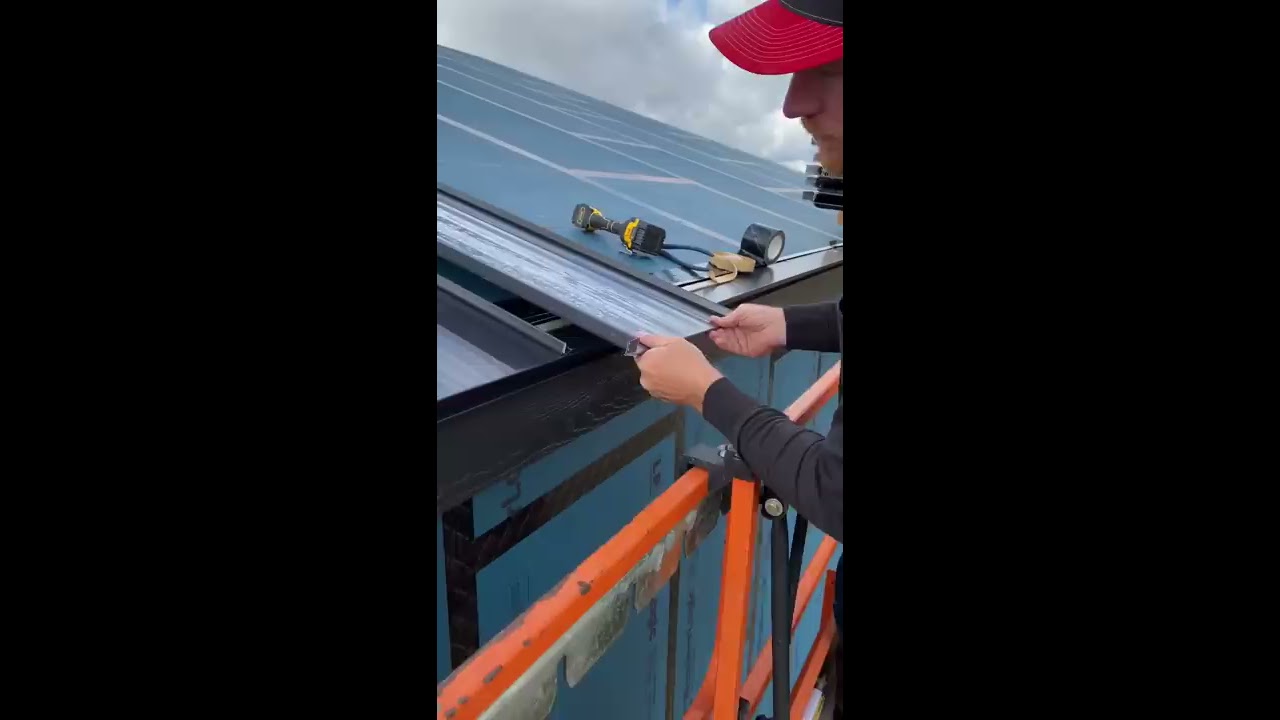
Installation Compatibility and Real-World Applications: Roofs, Walls, and Beyond
Tiles aren’t installed in a vacuum; they’re part of a larger system. The compatibility of Brava Tiles with fixing methods, underlayment, substrates, and roof structures is crucial. We design with installation in mind, providing clear guidelines on substrate flatness, fastener types, wind rating, and bonding requirements. A tile that looks flawless on the shelf can become a headache if the substrate isn’t prepared correctly or if the fixings aren’t appropriate for the climate.
In the field, I’ve seen installations succeed when contractors receive precise site-specific instructions: pre-checks for deck flatness, slopes that meet code, and a plan for sealing and flashing around penetrations. The right planning reduces callbacks and ensures that the roof performs as designed, protecting the home and enhancing its aesthetic appeal.
A client success story: a boutique hotel needed a high-end clay-look tile with excellent water resistance and a fast installation. We coordinated with the underlayment supplier to specify a compatible setting bed and fastener kit, ran a mock-up wall test, and delivered a consistent, durable finish across multiple elevations. The hotel reopened on schedule, with the new roof earning compliments from the guests and the maintenance team.
Sustainability, Longevity, and Aftercare: A Commitment That Lasts
Sustainability isn’t a buzzword here; it’s baked into every decision—from raw material sourcing to end-of-life considerations. Brava Tiles are designed for longevity, with a focus on durability, low maintenance, and the potential for recycling or repurposing tile waste where feasible. The environmental story isn’t just about green production costs; it’s about creating a roof that stands the test of time, reducing the need for rework, and protecting your investment.
For clients, this means choosing a tile with proven field performance, a strong warranty, and clear guidance on maintenance. Aftercare is straightforward: clean the surface with non-abrasive cleaners, inspect for cracked edges or chipped corners after severe weather, and schedule routine checks to catch issues before they escalate. A good maintenance habit reduces the likelihood of expensive repairs and preserves the roof’s aesthetic for decades.
A personal note: I’ve witnessed many roofs reach their prime after a simple maintenance plan is put in place early. When clients commit to a yearly inspection and timely repairs, their Brava Tiles stay truer to colour, detail, and performance. The payoff is peace of mind and a smaller maintenance budget over time.
Client Stories and Real-World Wins: Building Trust Through Experience
If there’s one thing I’ve learned, it’s this: words aren’t enough; you want to hear how things performed on real roofs. Here are two vivid client narratives that illustrate the economics and emotion of the Brava Tiles journey.
- The Coastal Retreat: A seaside villa needed tiles that could shrug off salt spray and high winds without colour loss. We selected a glaze with UV stability and a slightly higher density body to reduce porosity. The installation team reported fewer crack incentives and a faster schedule, while the owner enjoyed a vibrant finish that looked brand-new after two brutal seasons. The project came in on budget, and the homeowners reported lower energy costs due to the tile’s thermal properties. The Urban Loft: A modern rooftop terrace demanded a tile with a refined texture and a resilient surface. We aligned the product with a synthetic underlayment and a precision mechanical fastening system. The result was a roof that not only performed but also contributed to the building’s contemporary aesthetic. The client’s review highlighted the ease of maintenance and the long-term warranty as the deciding factors in choosing Brava Tiles over competing brands.
These stories aren’t marketing fluff; they’re evidence that a well-managed timeline, rigorous testing, and transparent communication yield tangible benefits. If you’re planning a project, I’m happy to help translate these lessons into a practical, site-specific plan that minimizes risk and maximizes value.
Frequently Asked Questions
1) What makes Brava Tiles different from other tile brands?
Brava Tiles stand out through a combination of controlled material sourcing, precise manufacturing tolerances, rigorous quality assurance, and a glazing strategy designed for durability in diverse climates. The result is predictable performance, easier installation, and a long warranty that gives homeowners confidence.
2) How long does the manufacture timeline typically take?
The timeline varies by tile type and order volume, but a well-planned production cycle—from raw material sourcing to final packaging—typically spans several weeks. Lead times are affected by glaze complexity, batch sizes, and kiln cycles, so early planning is critical.
3) Can these tiles be used on both roofs and walls?
Yes. Brava Tiles are formulated for multi-site applications, including roofs and walls, provided the substrate and fixing method meet the product’s specifications. Always follow the manufacturer’s installation guidelines for best results.
4) What maintenance is required for long-term performance?
Routine inspections, cleaning with mild non-abrasive cleaners, and timely repairs of chipped or cracked edges are key. A scheduled maintenance plan helps preserve colour, texture, and structural integrity.
5) How do you handle climate-specific requirements?
The factory tailors glaze formulations, body density, and firing curves for different climate zones. Additionally, the QA program includes weathering tests to ensure performance in the target environment.
6) What should I ask my supplier to ensure quality?
Request batch traceability, test certificates, detailed tolerances, and a clear warranty. Ask for examples of installation guides for your climate and roof type, plus a sample installation plan to review before committing.
Conclusion: Why the Timeline Matters and How to Use It
Understanding the manufacture timeline of Brava Tiles helps you see the value behind the price. It’s not a single moment of brilliance; it’s a continuum of decisions, tests, and careful control that culminates in a surface that lasts. The materials, forming, glazing, firing, QA, packaging, and installation compatibility all feed into a single outcome: tiles that perform as promised and look phenomenal year after year.
If you’re planning a roof or wall project, I recommend this approach:
- Start with material specifications that emphasize consistency and climate suitability. Demand a transparent QA summary with batch traceability and test results. Align installation planning with the tile’s substrate and fixing instructions. Build in a contingency for delivery windows and weather delays.
With the right partner and a clear understanding of the timeline, you don’t just install tiles; you install confidence. The Brava Tiles journey from clay to roof is a story of craft, care, and committment to quality. And when it comes to your home or project, that commitment matters.
Table: Quick Reference for Builders and Homeowners
| Stage | What to Look For | Why It Matters | Common Pitfalls | |---|---|---|---| | Raw Material Sourcing | Batch traceability, moisture tests | Sets baseline performance | Inconsistent batches, unknown additives | | Forming and Body Creation | Thickness tolerance, density | Reduces warping and edge misalignment | Wide tolerances, uneven compression | | Glazing and Color | UV stability, glaze adhesion | Affects longevity and aesthetics | Crazing, colour shift, glaze peel | | Firing and Thermal Processing | Ramp rates, peak temperature control | Prevents cracks and shading differences | Temperature drift, uneven cooling | | QA and Lab Testing | Mechanical and weather tests | Guarantees performance | Missing certificates, inconsistent data | | Packaging & Logistics | Proper labeling, lot tracking | Minimizes damage in transit | Damaged pallets, misordered batches | | Installation Compatibility | Substrate prep, fixings | Ensures a durable roof or wall | Incorrect fasteners, poor substrate flatness |
If you’d like to discuss your project, I’m ready to help map a timeline, select the right Brava Tiles for your climate, and ensure your installation is smooth, on budget, and stunning. What’s your upcoming project, and what’s the climate like where you are?